Attributed String Creator Help
How To Install Custom Fonts in iOS with Attributed String Creator
iOS comes with a wide range of fonts installed, but there will inevitably come a time when you need to import a custom font to use in your app.
Luckily Attributed String Creator simplifies the process somewhat, as it identifies the non-system fonts within your text and and lets you know the name you will need to use to declare them in your iOS project.
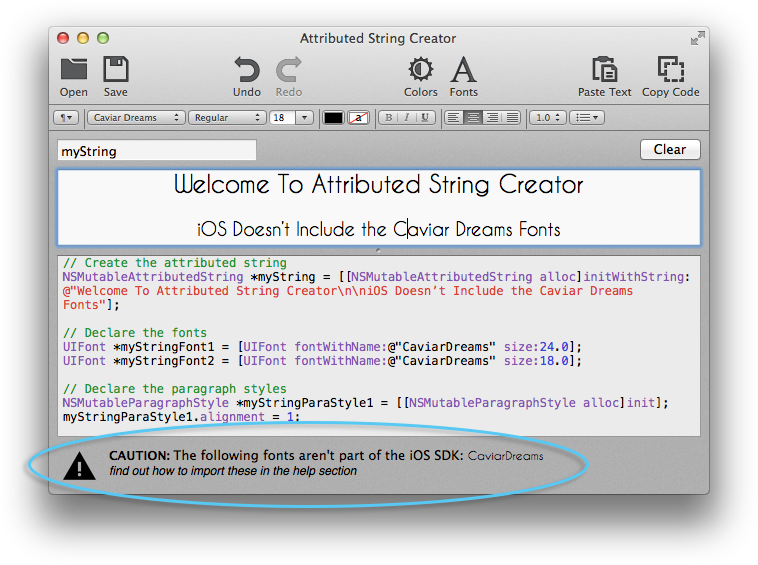
NOTE: It is important that you do not try to use a custom font with Attributed String Creator’s generated code without importing it; as this is likely to result in your app crashing. (If you don’t want to follow these steps to import the missing font then you should change the font declaration to a font that is included in iOS).
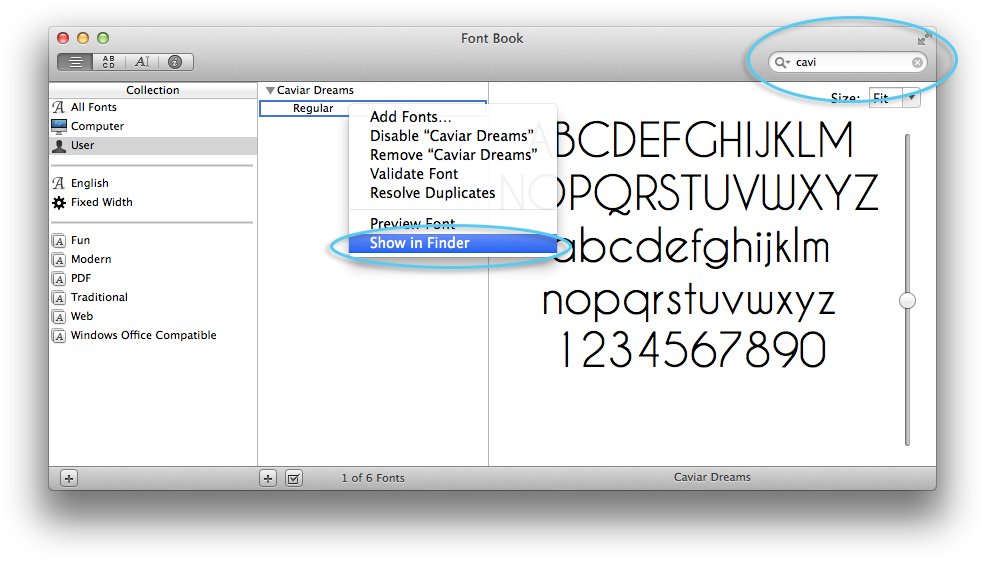
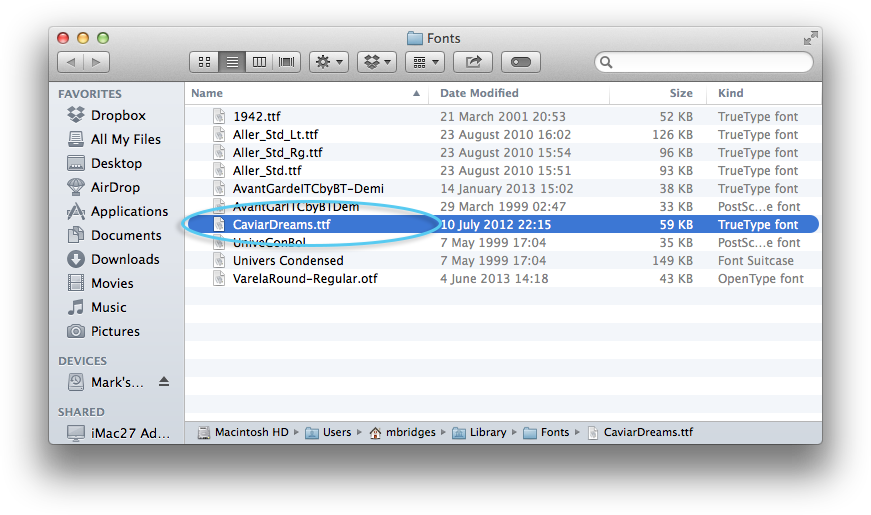
When Attributed String Creator identifies missing fonts, the first thing you will need to do is find the font’s installation file. If you have downloaded the font from the internet you may already know where this is, but if you’re not sure where to find this file, the easiest thing to do is open Font Book and enter the name of the font in the top right corner. Then right click on the name of the font and select Show in Finder.
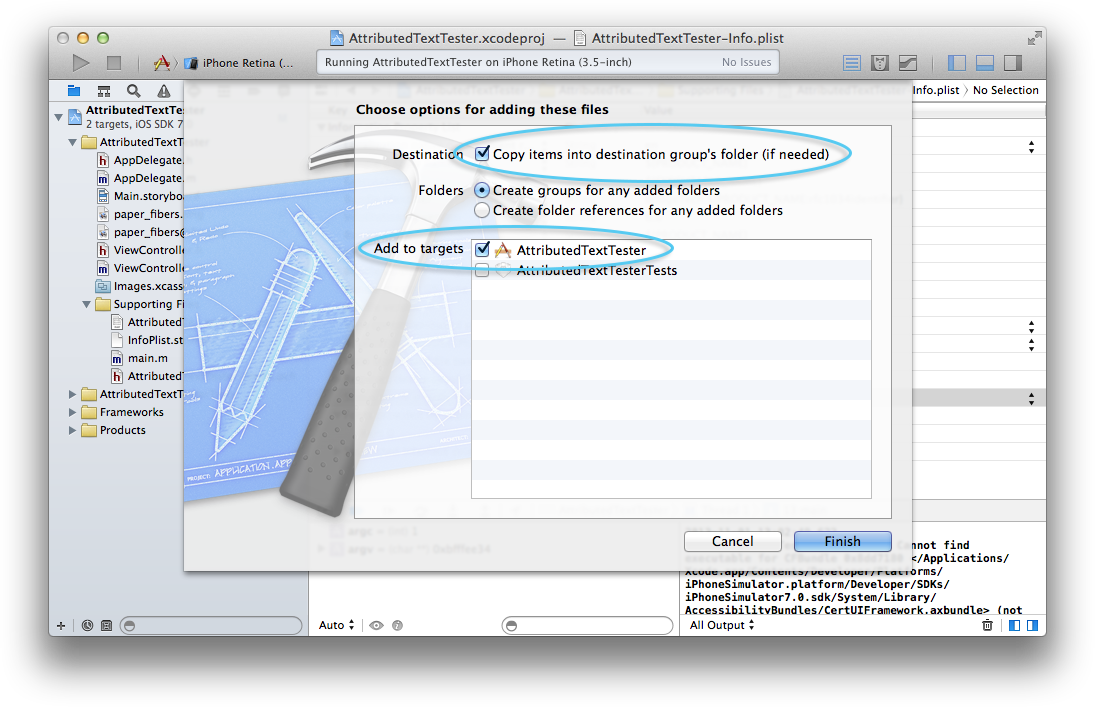
Once you have the file, drag this into your Xcode project and make sure you tick ‘Copy items into destination group’s folder (if needed)’ and ‘Add to targets’.
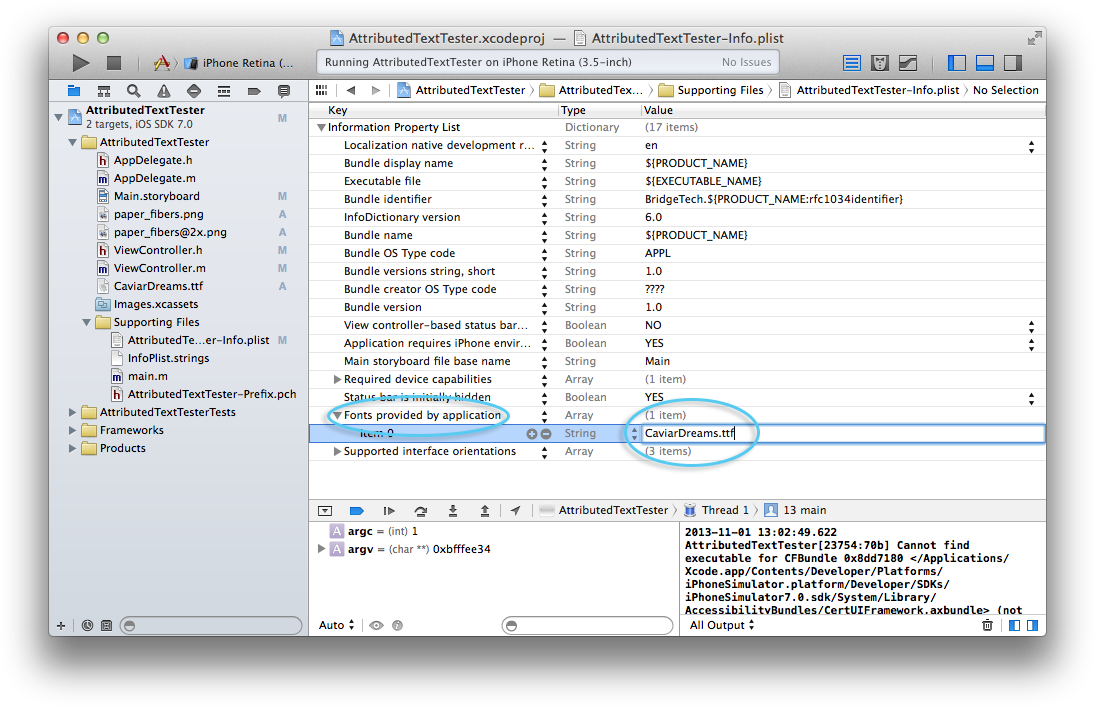
Then open your info plist file and add a new row called 'Fonts provided by application'. This should automatically complete and be of type array.
Write the name of the file you just imported as the first item in the array.
Your font should now be imported.
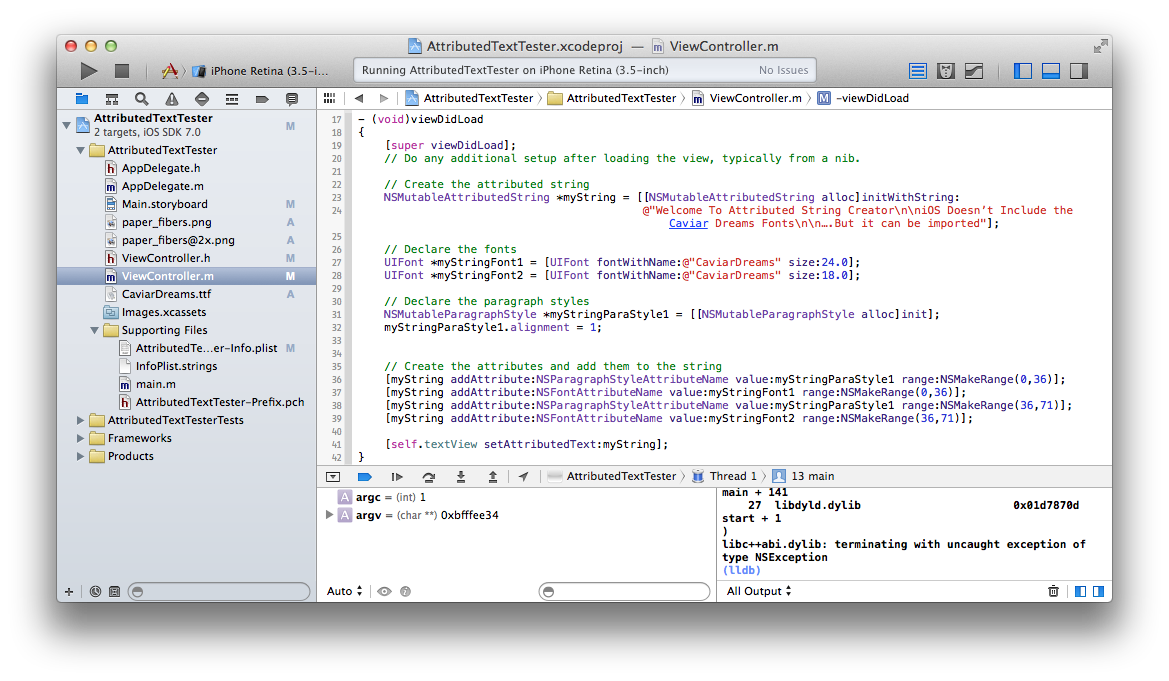
Use the code generated from Attributed String Creator the same as you would normally.
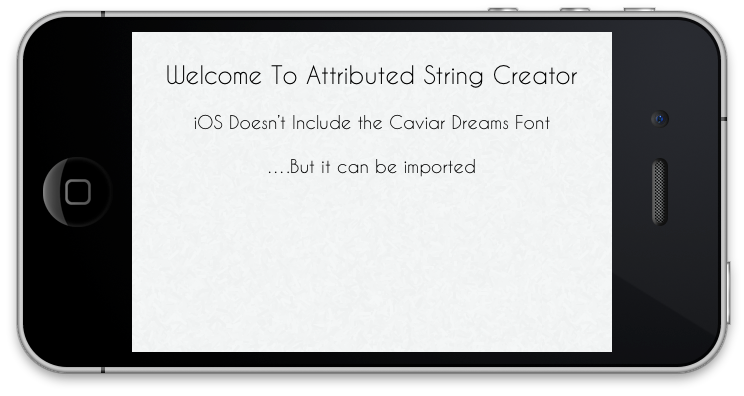
The Result